Finally.. I decided to update the portfolios
Now that I am officially a member of the non-recurring paycheque society (the retired) I can spend more time doing things that I have put off for a bit.
Now that I am officially a member of the non-recurring paycheque society (the retired) I can spend more time doing things that I have put off for a bit.
Chairs
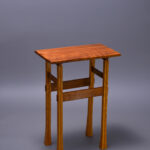
Side Tables
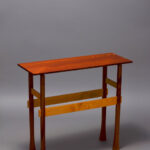
End Tables

Cabinets
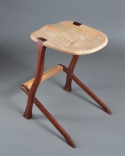
Stools
Took a while, buy but work gets in the way sometimes… 
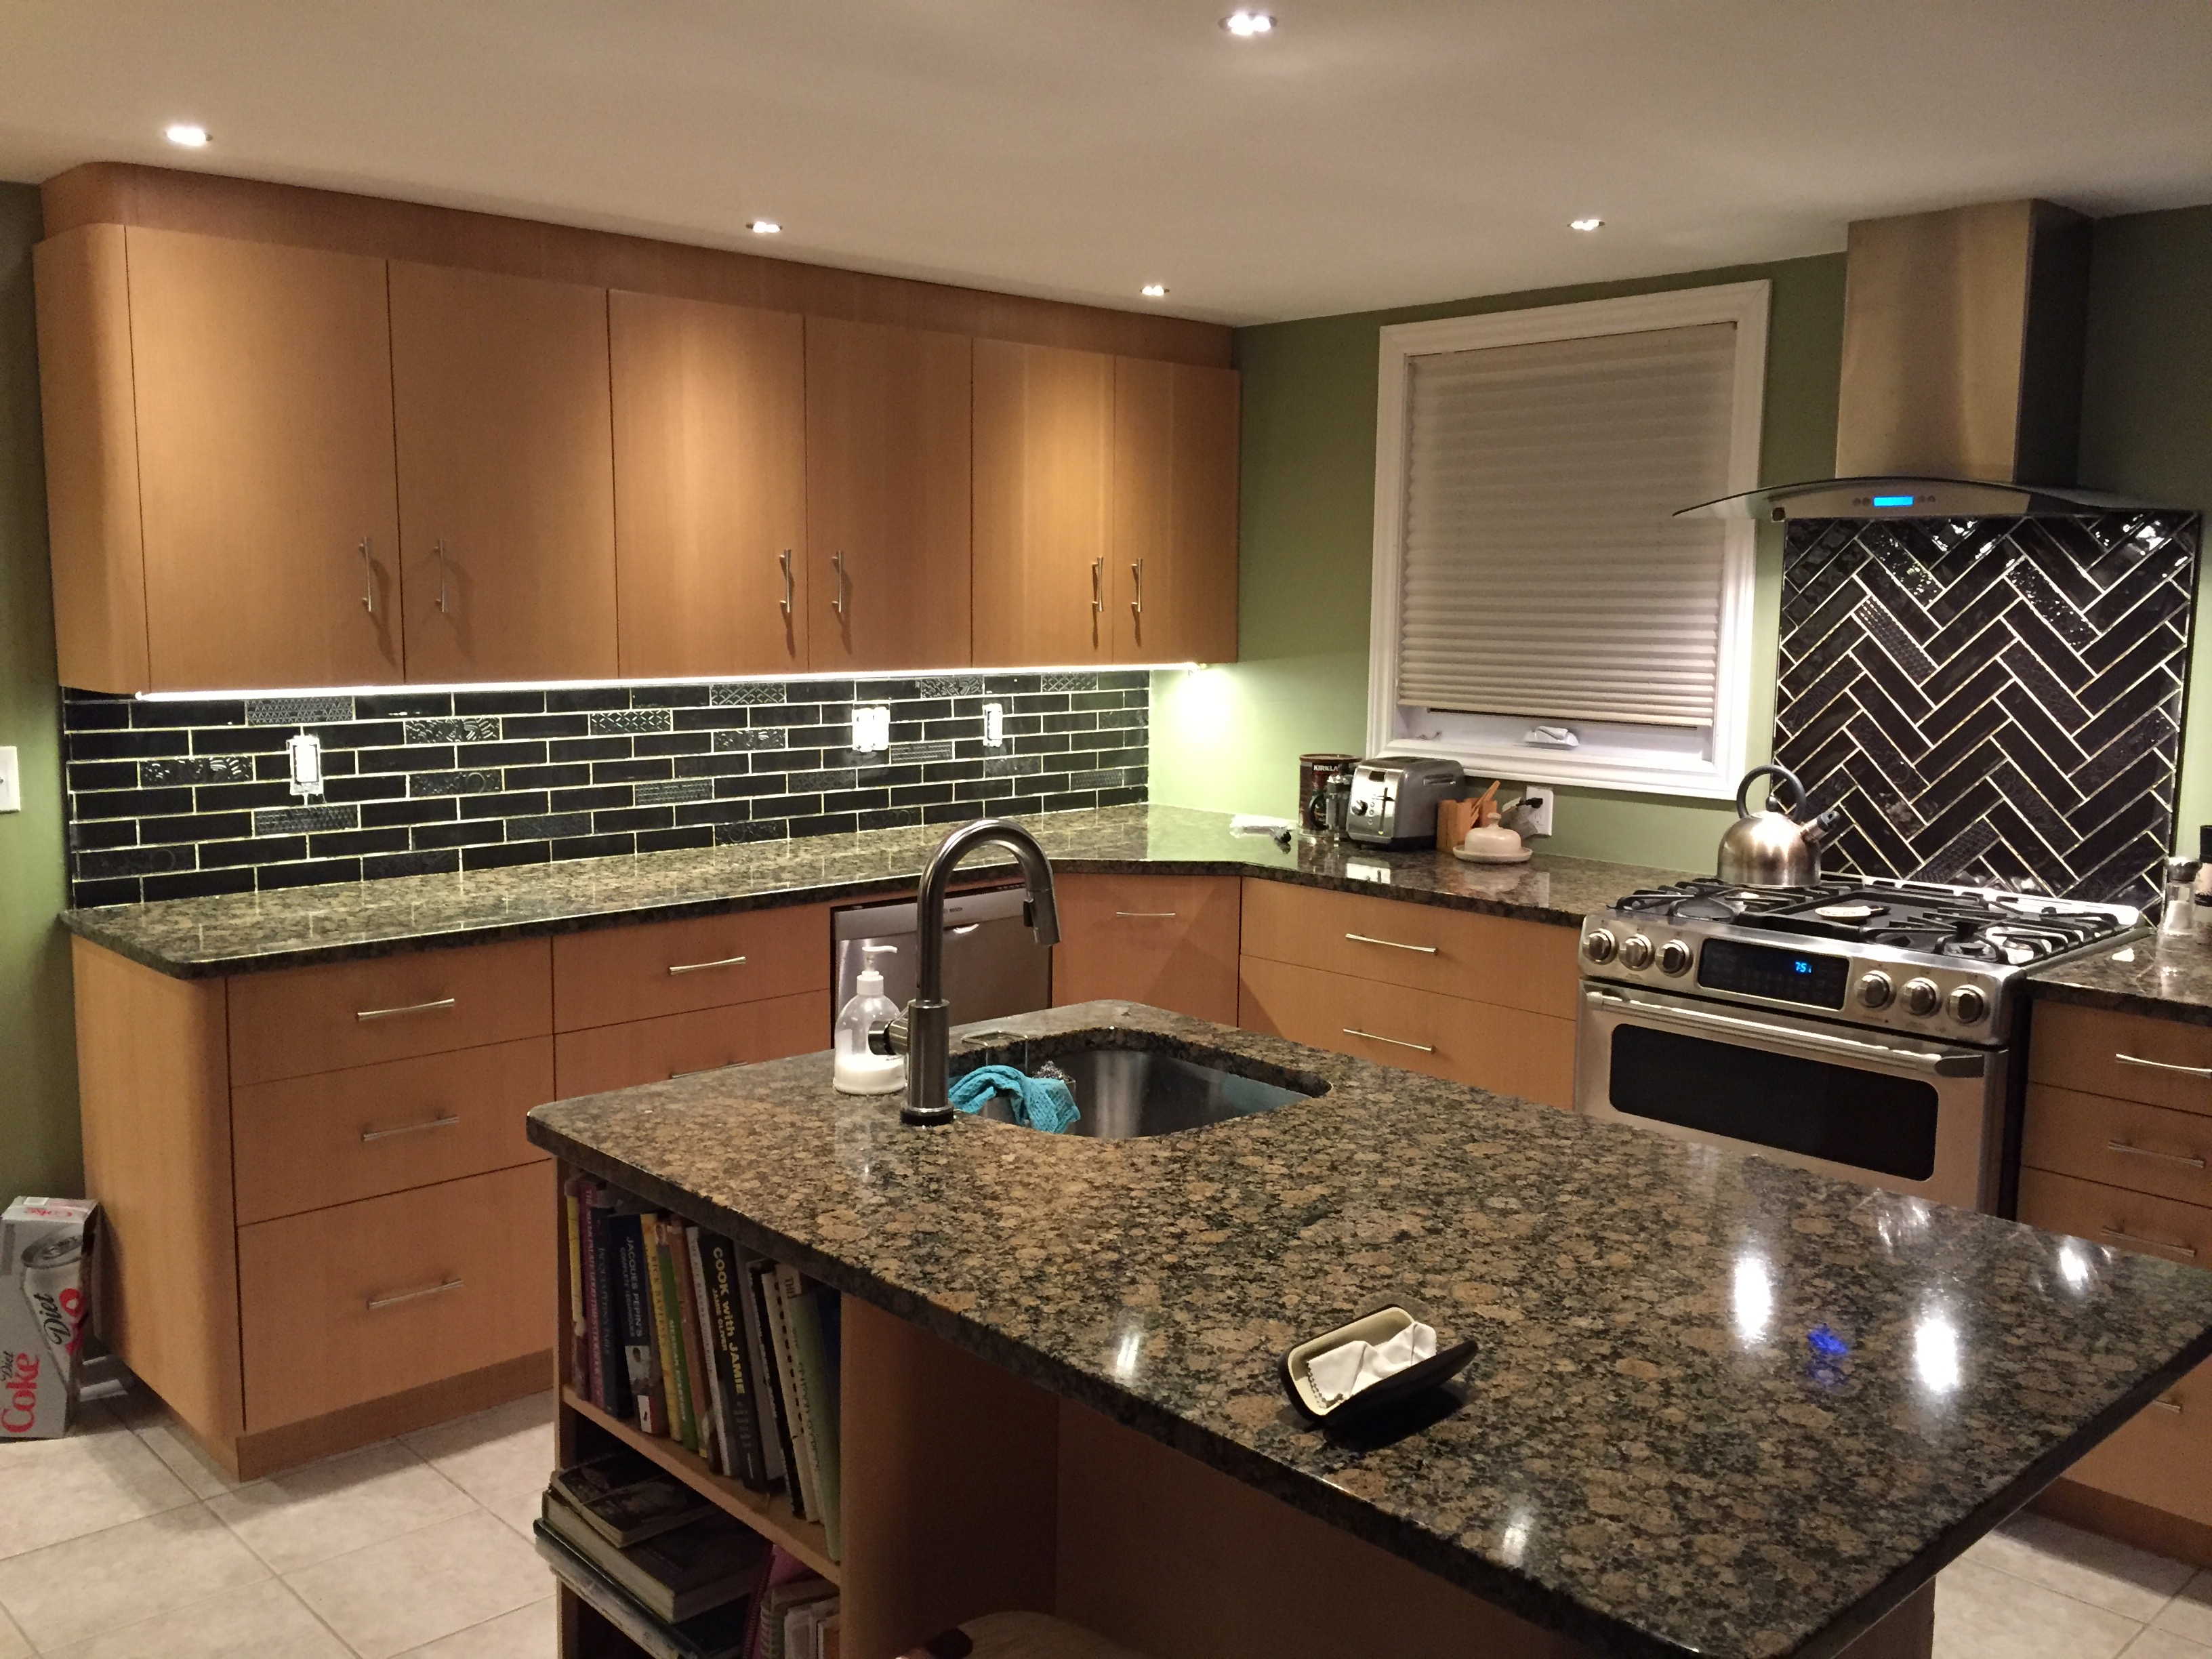

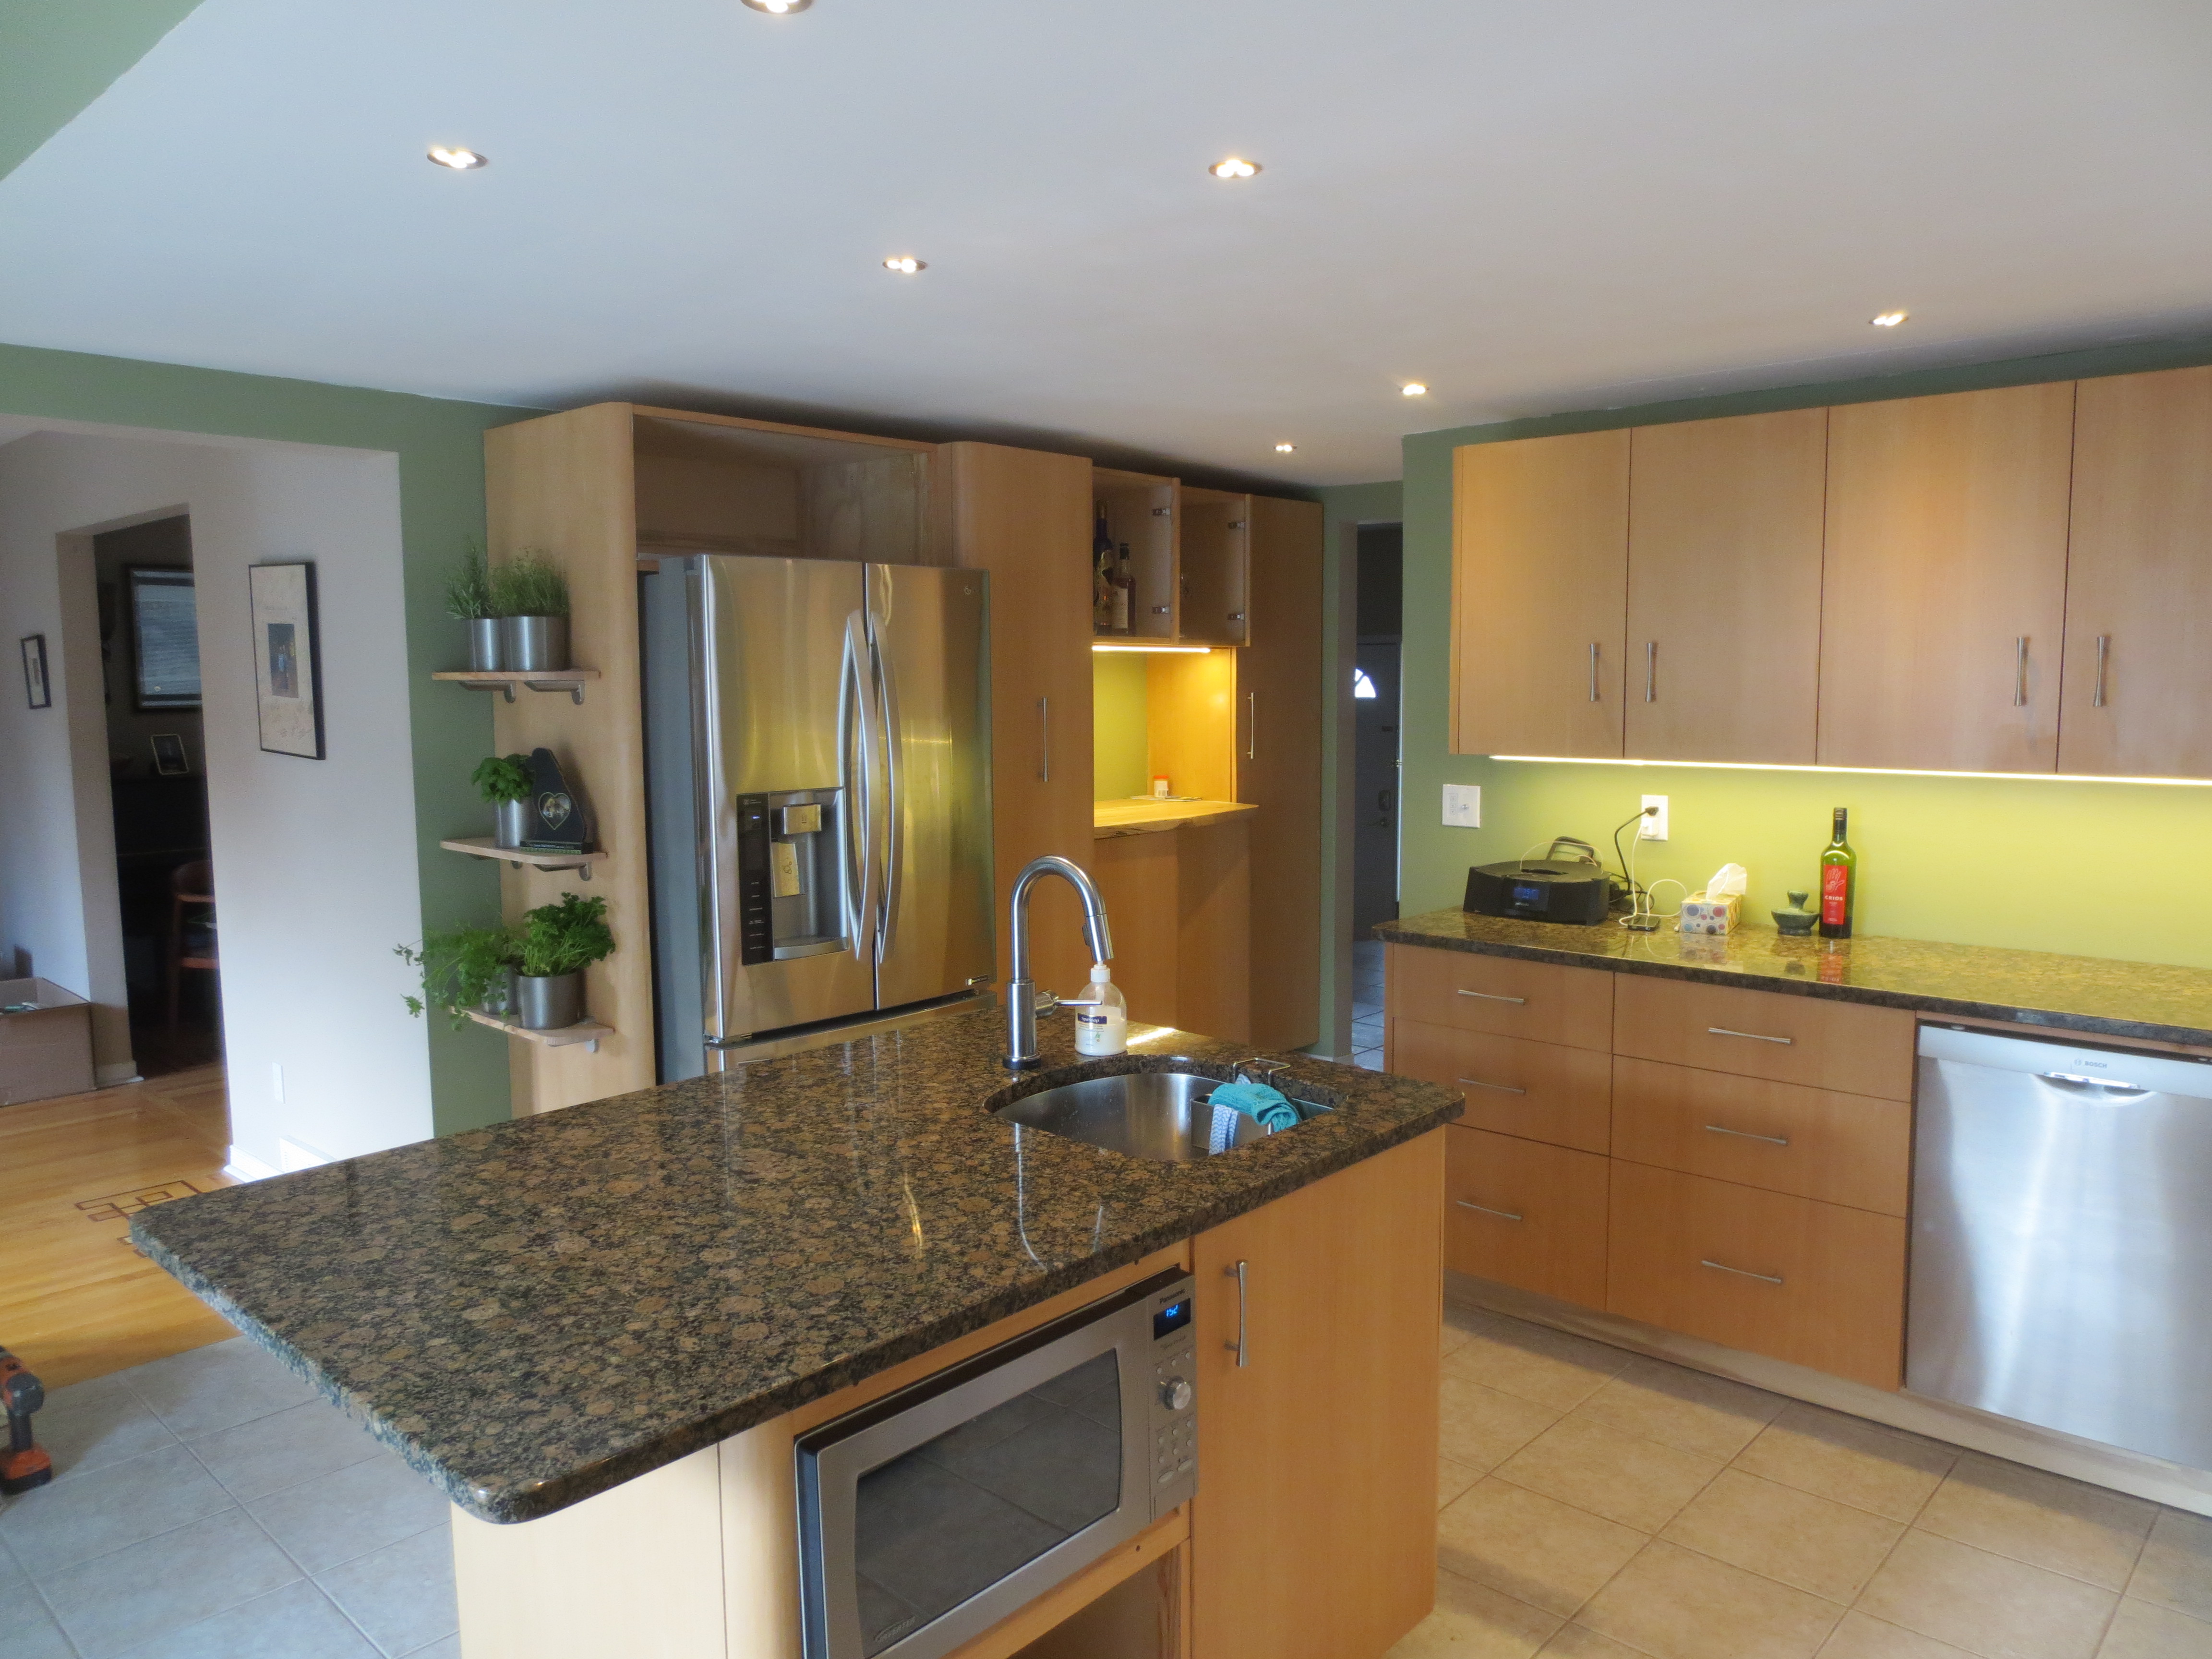
Yup, you guessed it. Whenever you have a dripping kitchen tap, standard procedure states that you have to replace the kitchen surrounding the offending tap. (And replace the tap of course)
Since the chairs I was working on are finished, it was time to embark in a new direction for a while.
I pondered the drip for quite a long time...we wanted a new look...something unique and clean. I have always liked the contemporary west coast style that used vertical grain Douglas Fir. For some reason, the clean lines of the grain are calming, and the lighter colour that ages to a soft honey will keep the kitchen bright.
We are changing the U style kitchen to an L with and island....
A sketch of the new kitchen
I wanted something a little different in the cabinet look other than just a plain front, so I have decided to add a design feature where all exposed cabinet corners will have a radius. So, that means veneer. Lots and lots of veneer.
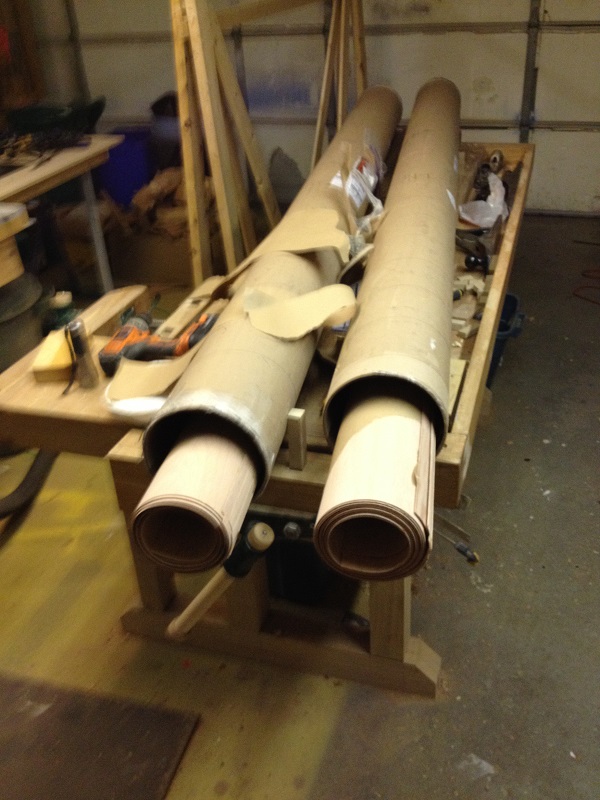
Lots of Douglas Fir VG veneer...fresh in from BC
To go along with the veneer, I decided to use Baltic Birch plywood for the cabinetry. Baltic Birch is expensive, but it cuts to a clean edge, and takes veneer well with no surface flaws.
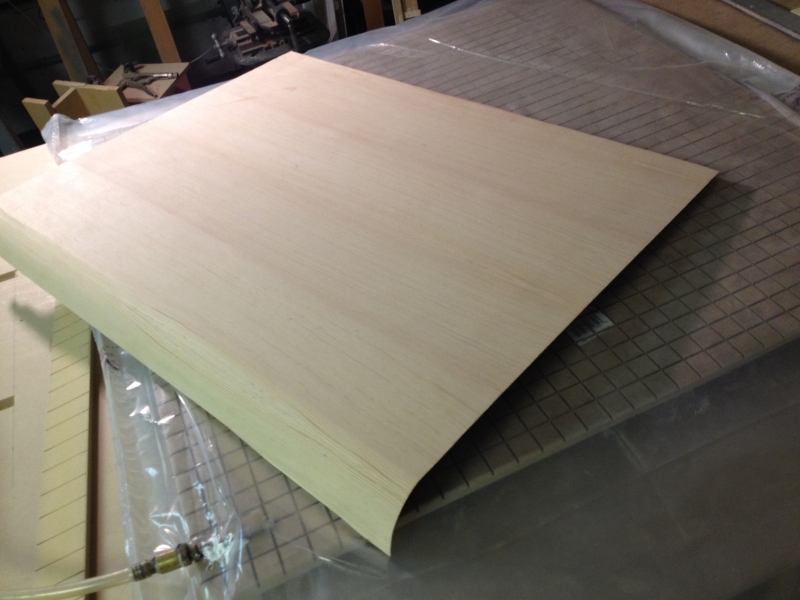
In order to build the panels I set up a vacuum bag system using a MDF plattens...
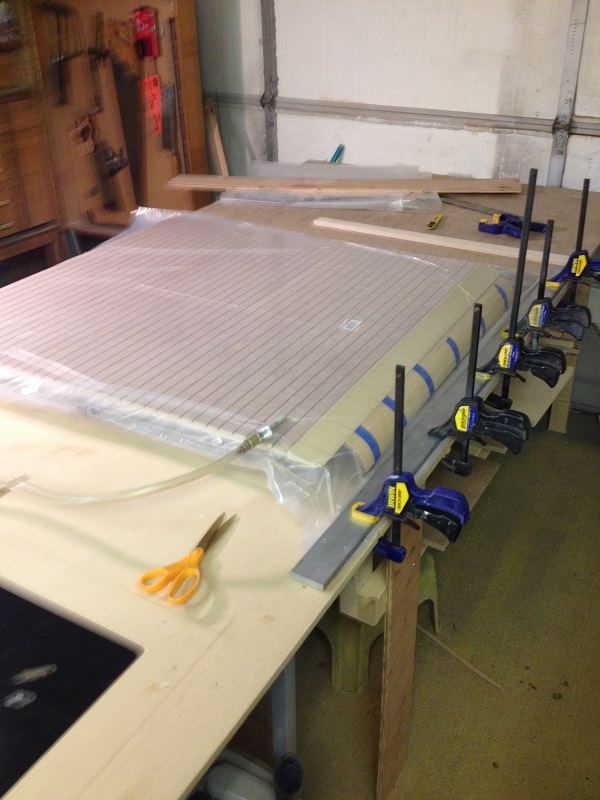

Notice the curved edge in the bag.... Well, it comes out of the bag looking like this...(The thin edge is just the veneer overhang. That will be cut off flush with the ply underneath.)
An example of a lower cabinet that has a curved corner....

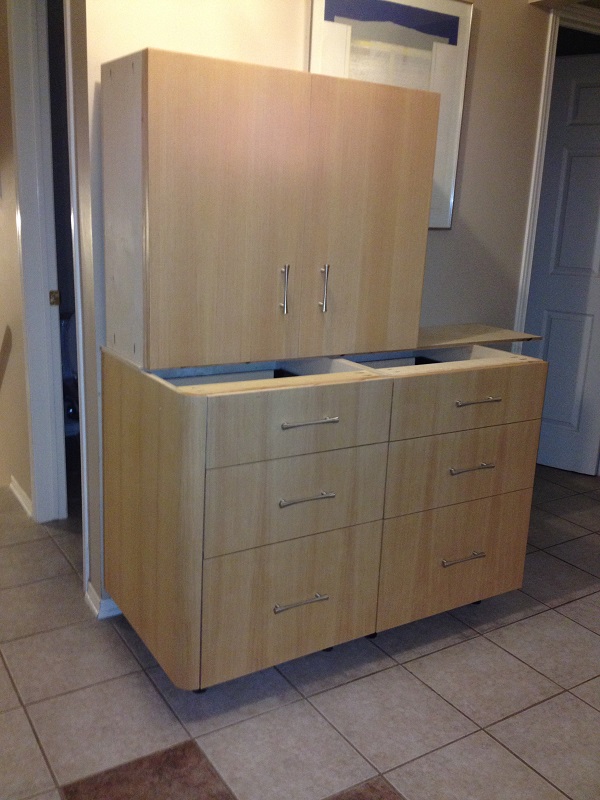
Here is some of the first cabinets out of the shop... two lowers and one upper middle. I'm pretty happy with how they are turning out. It seems to take forever for me to post something here... but, that just means I'm busy having fun in the shop. 🙂
Thanks for stopping by.

Well, there's no good answer.
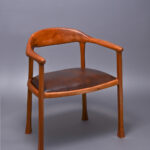
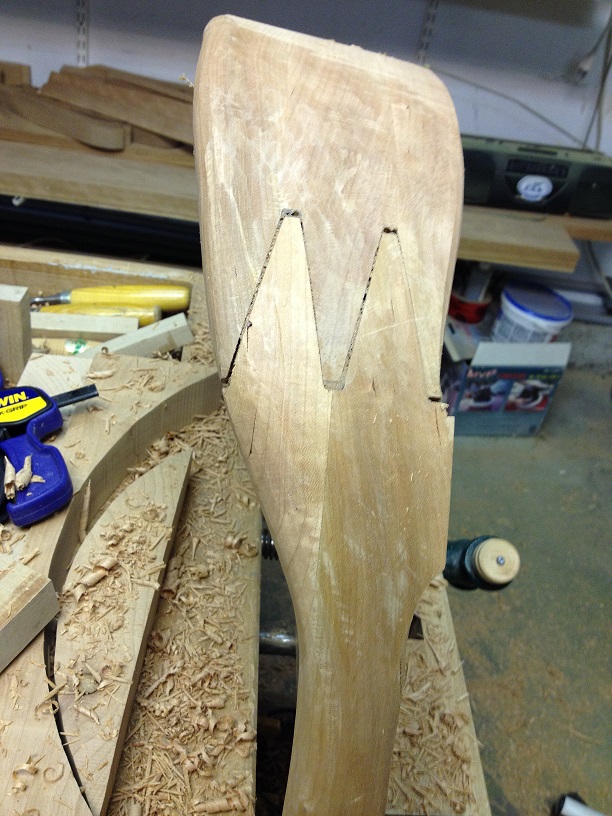
I did a short post last week about shaping the back and arms of the new dining room chair set. The process takes time and while you work, you can see the quality of the tapered finger joint that connects the back to the arms. This joint is done with a back saw and a lot of patience....it has a double taper, and both pieces taper opposite directions. (I don't know why I do that to myself, but it looks cool when it works out) The taper makes it really difficult to get the two parts to mate up nice and tightly. You dry fit, sand, dry fit, sand, dry fit........you get the idea. When gluing these parts up, I mix in a little cherry sawdust in the glue as a gap filler. Getting the right consistency for the glue is also tricky.
Things brings me to my point. Sometimes the joint looks great, and, well, sometimes, not so much. Here is a joint that I'm pleased with:
This one.... well, let's just say it can be fixed, but, I'm not happy with it.
So, does it pay to be picky? I think that if I'm not happy with it, you certainly wouldn't. So, I'll be making a new back for this chair.
Have a great weekend
Chris
Ya, I know.
It's been a while since I have taken the time to update...stuff happens. In this case. 'stuff' was a two week trip to Orlando for work. (BTW.... YAY!!! Canadian Women's Hockey RULES!!!!!)
So, I finally made it back to the shop and began the next stage for the chairs..(did I mention this is a long drawn out process?)
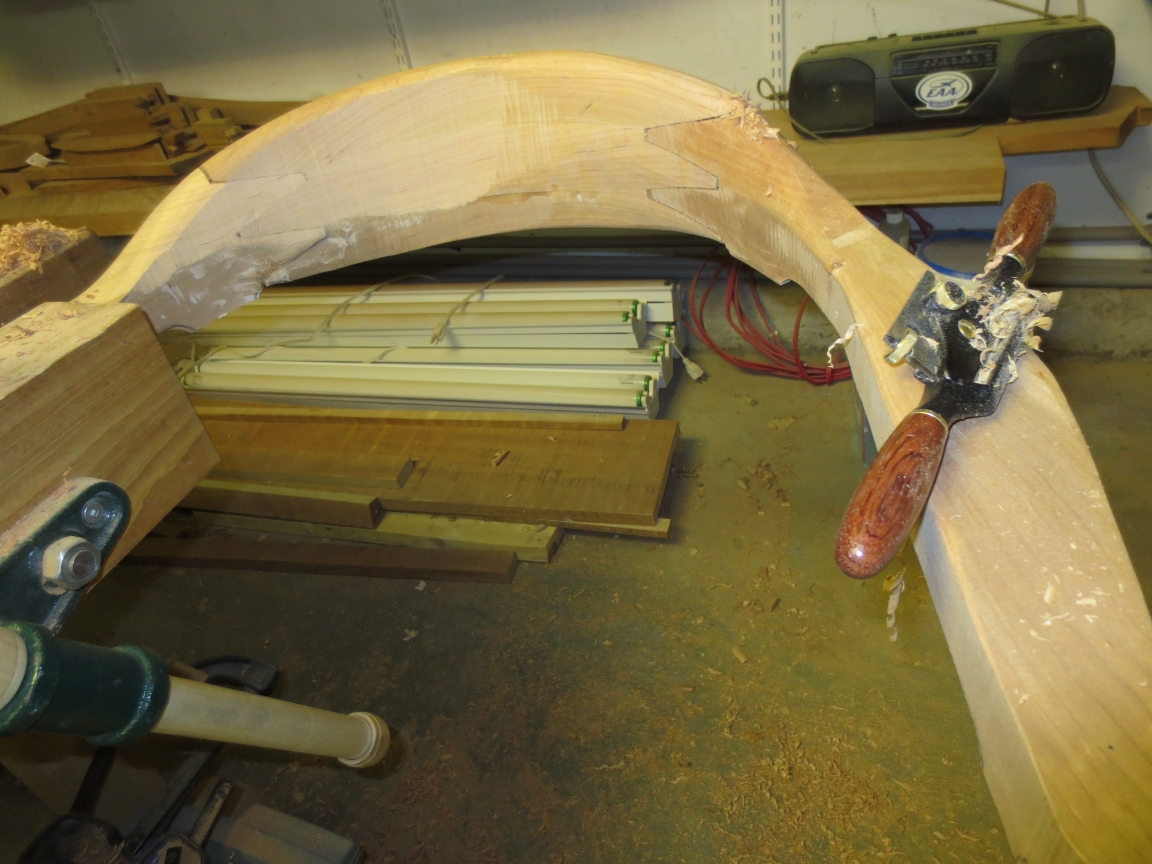
It's time to start spoke shaving the backs and arms of the latest chairs. I enjoy this step, even if it takes a long time. There is something peaceful about carving with a spokeshave... the whistle the shave makes as it cuts through the wood. A rough band sawn piece emerges into a smooth flowing piece. Curls of what isn't the chair falling to the floor.
It is going to take another eight hours or so to get this just right..... I didn't say this was going to be a long post did I?
Back to the shop...

Today, medicine Jon and I spent some time back in the photo studio setting up for a new widget on the site.
It would be nice to let you see a 360 degree view of the furniture, so we started with a table that has a quilted Makore top.... this wood is unique in that the grain pattern shifts before your eyes as you move.
A rotating table was placed on the chroma key mat and the table was centered on it.
 As the table was rotated slowly, a series of shots were taken. Once complete, the new widget comes into play....(of course, there had to be some magical hand waving by Jon) and we get this makore table The image can be rotated, much in the same way as a panorama but inward looking at the object.
We are kind of pleased how this turned out. We hope you are as well.
The title of this posting did include a mention of joints though... The chairs currently in the shop are having the backs and arm assemblies fit to them. The tapered finger joint between the arm and curved back is kind of tricky to get just right. One side of the joint is cut with the back saw and the edge is transferred to the mating piece...after the mate is hand cut the back assembly is glued up. The completed part is then rough shaped on the bandsaw in preparation for spoke-shaving to its final form. Its gratifying to see how the joint looks fresh out of the saw....
Looks pretty good...next, making shavings.....
Yes, I should.
But, before I continue, I have to thank Jon Ball, owner of Diskdaddy.com for helping me with all of the intricacies of setting up my new web presence. Hopefully, I will be able to take the time to post new ideas here, or show you the progress of what I am currently working on.
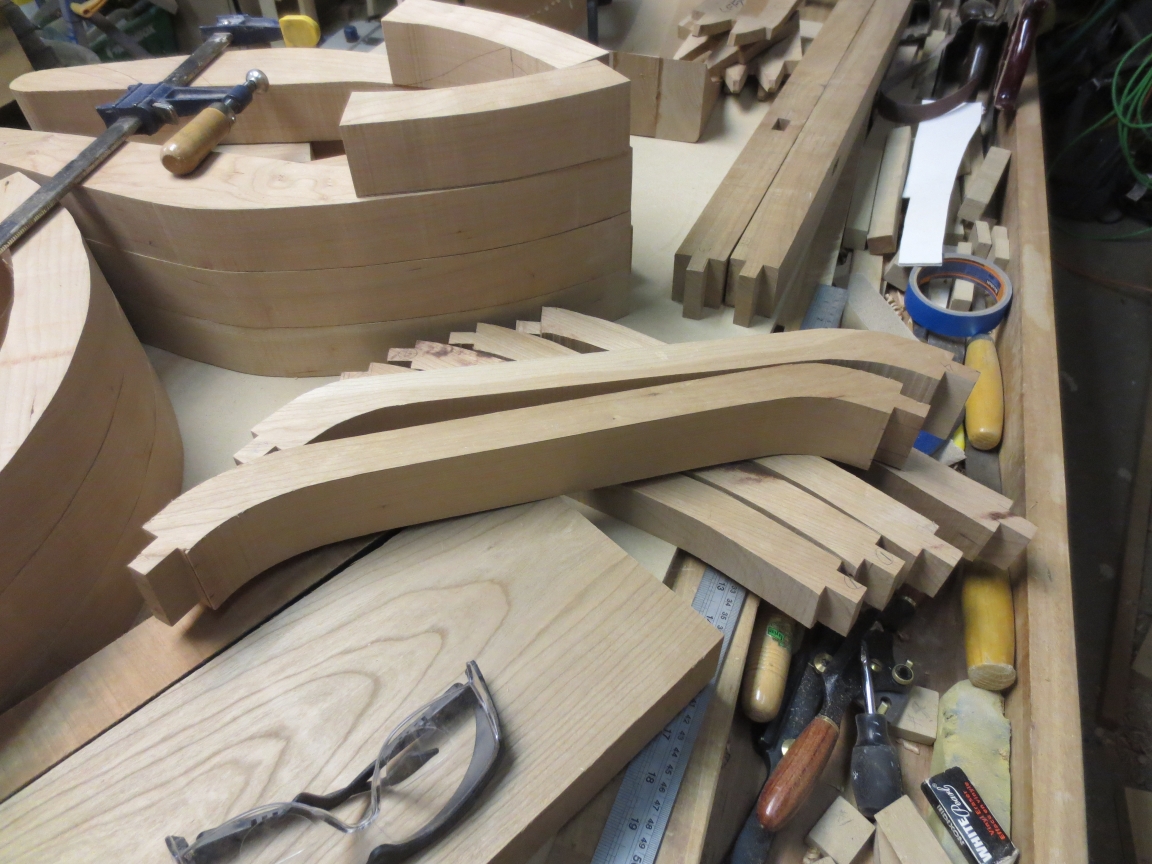
I am currently working on a set of four Lingeround chairs for a dining room. I am doing this work as sets of four of every piece that goes into the chair. This makes it easier for me to set up for each joint , since every one of them is at a different angle due to the curvature of the chairs.
Here is a picture of the parts in progress:
I'll take each set of these in turn and pre-fit them into the chair base in a jig before I carve the back and arms.
With that said, I'll head back out to the shop. Work to do.
It’s true one has to start somewhere… in my case however, it's more like I started years ago, but just realized it recently. I spend a large portion on my working life in the high tech industry. It's lots of fun, but....besides building transitory things on computers, there's something satisfying in building things with your hands...heck I rarely even draw a picture of the 'thing' on a computer first. A sketch on a piece of paper is much faster 🙂
I like to build things... Furniture. Cabinetry, Hardwood floor inlays..., I have also built a plane (the flying kind) , rebuilt houses...you get the picture. Not really enough time to do everything.
![Image0000045[1]](http://chrishepburndesign.ca/wp-content/uploads/2014/01/Image00000451-315x236.jpg)
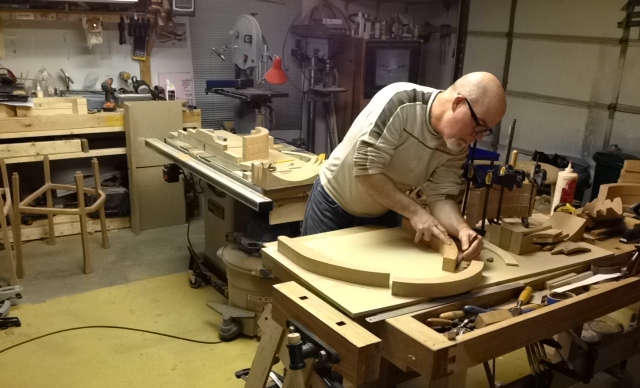
The Workshop
I stare back at them and say "No...." and the little voice in my head says "Why not?". ... good question.
I like to think of this as my web experiment. Will people REALLY buy something from me here? Time will tell.
Take a moment and browse through my gallery...I'm pretty proud of the pieces in there. Maybe something will catch your eye too. (And then... contact me. I would be happy to make something for you )
Chris