
The kitchen tap drips….
Yup, you guessed it. Whenever you have a dripping kitchen tap, standard procedure states that you have to replace the kitchen surrounding the offending tap. (And replace the tap of course)
Since the chairs I was working on are finished, it was time to embark in a new direction for a while.
I pondered the drip for quite a long time...we wanted a new look...something unique and clean. I have always liked the contemporary west coast style that used vertical grain Douglas Fir. For some reason, the clean lines of the grain are calming, and the lighter colour that ages to a soft honey will keep the kitchen bright.
We are changing the U style kitchen to an L with and island....
A sketch of the new kitchen
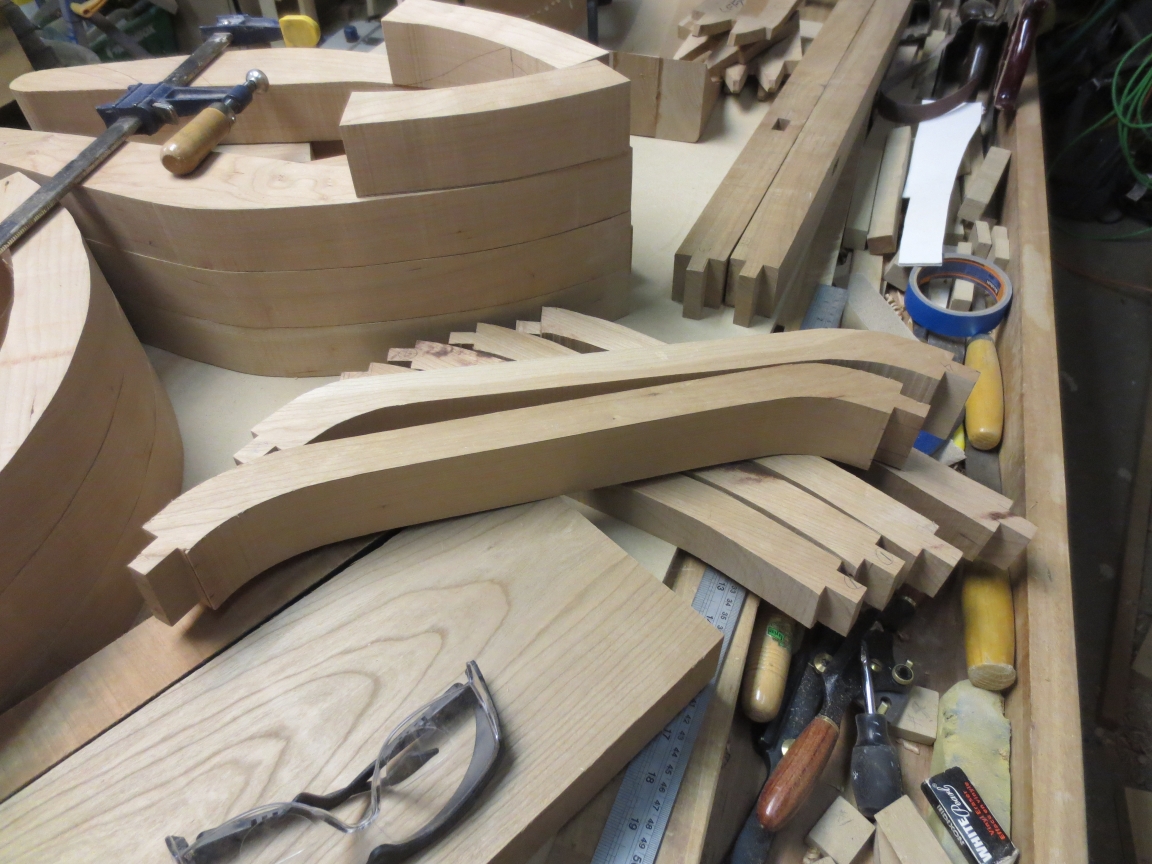
I wanted something a little different in the cabinet look other than just a plain front, so I have decided to add a design feature where all exposed cabinet corners will have a radius. So, that means veneer. Lots and lots of veneer.
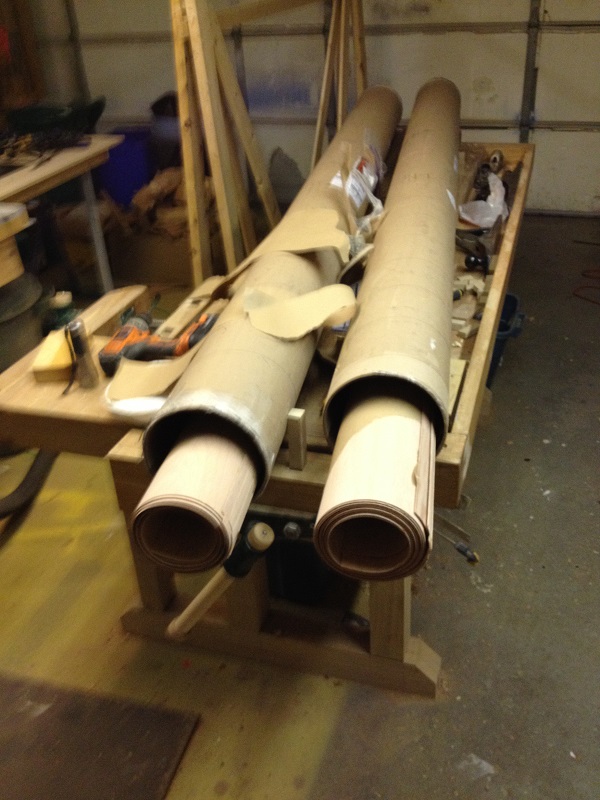
Lots of Douglas Fir VG veneer...fresh in from BC
To go along with the veneer, I decided to use Baltic Birch plywood for the cabinetry. Baltic Birch is expensive, but it cuts to a clean edge, and takes veneer well with no surface flaws.
In order to build the panels I set up a vacuum bag system using a MDF plattens...
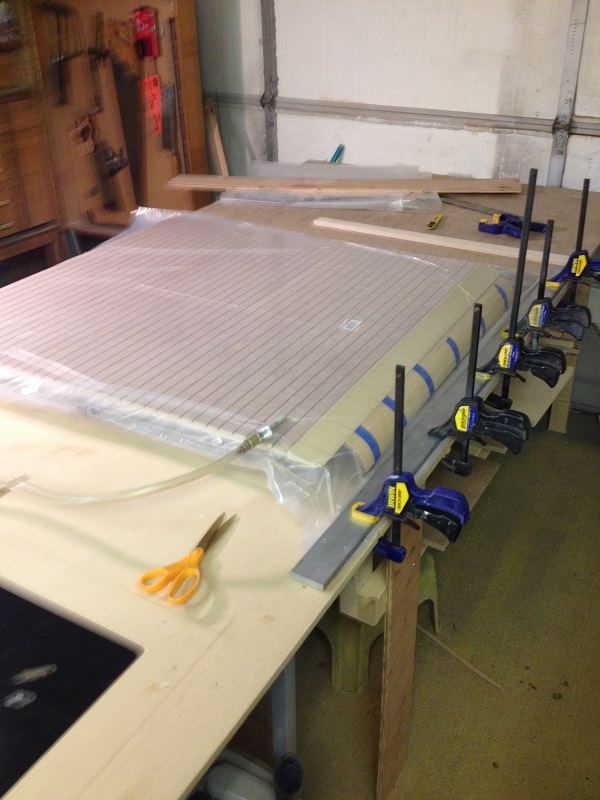

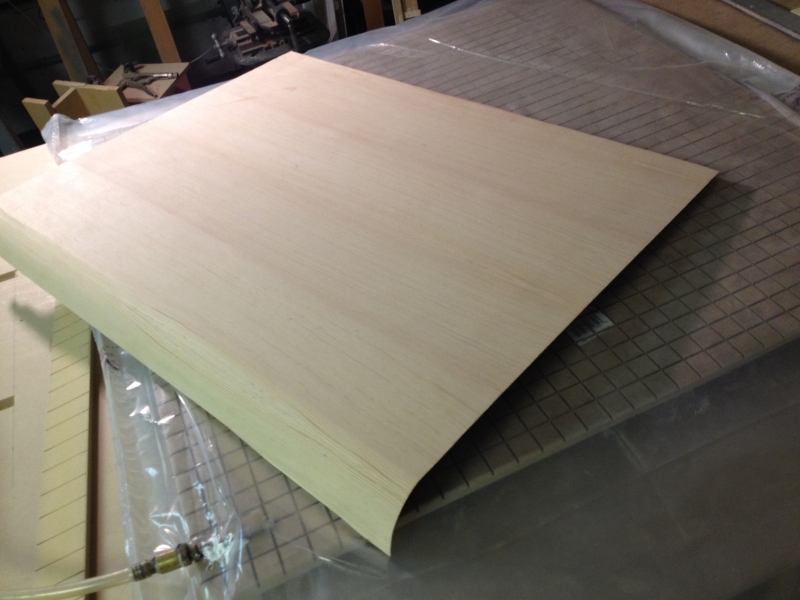
Notice the curved edge in the bag.... Well, it comes out of the bag looking like this...(The thin edge is just the veneer overhang. That will be cut off flush with the ply underneath.)
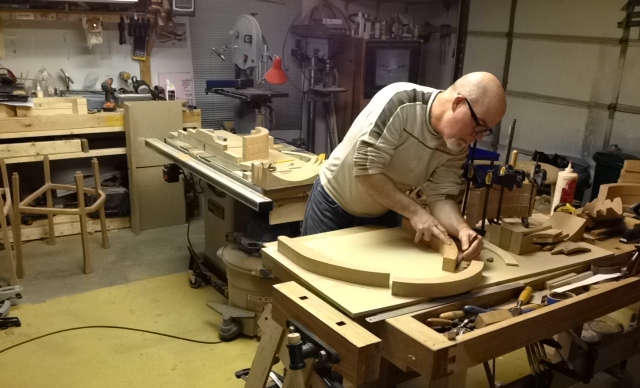
An example of a lower cabinet that has a curved corner....

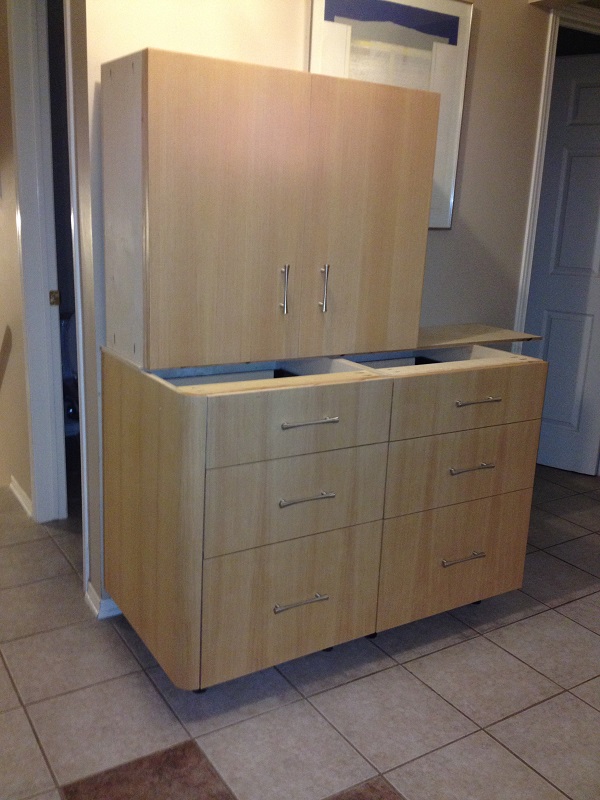
Here is some of the first cabinets out of the shop... two lowers and one upper middle. I'm pretty happy with how they are turning out. It seems to take forever for me to post something here... but, that just means I'm busy having fun in the shop. 🙂
Thanks for stopping by.


![Image0000045[1]](http://chrishepburndesign.ca/wp-content/uploads/2014/01/Image00000451-315x236.jpg)